Quick Guide to building inexpensive hoop houses, tunnels, and row covers.
Extend the growing season with minimal cost.
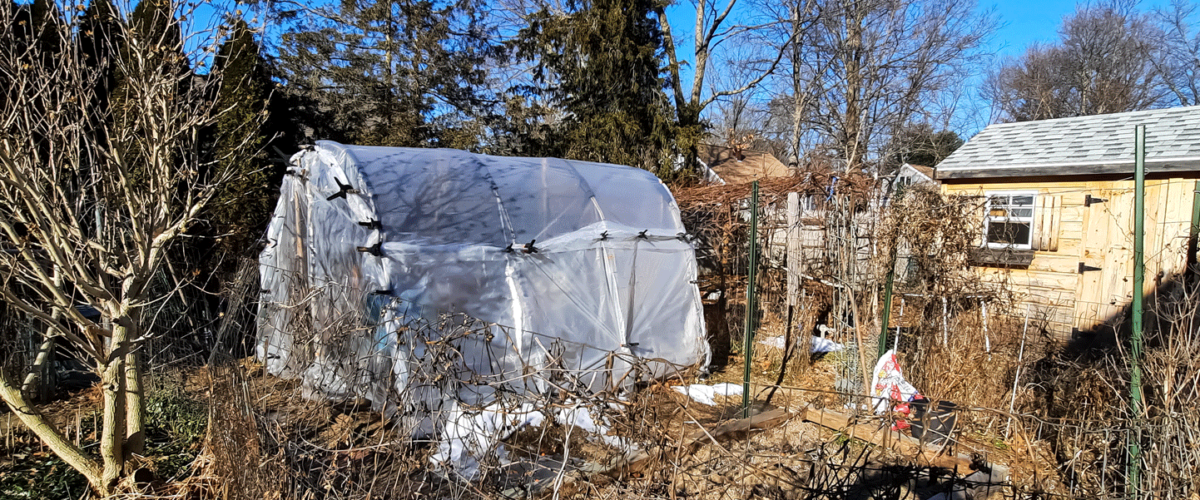
A hoop house, as I call it, is an enclosure to protect plants from the cold or frost. Much like a grow tunnel with the difference being that it is large enough to stand in. The hogan-like design consists of arched supports for a covering usually made of clear or semitransparent plastic. Somewhat of a greenhouse which may, if desired, support a heating source to extend the season longer into late fall or even winter.
I live close to the Northshore in Massachusetts, somewhere between 6a and 6b on the plant hardiness scale.
The first hoop house I made was more like a row tunnel. I pruned back several long thornless blackberring canes then stuck the ends in the dirt forming a line of hoops. This was covered with plastic sheeting which was the packing material that came with a 4×8 plywood sheet. The plastic was free, in good condition, and in my eyes recyclable. At this time I actually forgot what I was trying to grow in that first prototype. It did encourage me to move to bigger and better things.
I started covering everything. Netting can be used to ward away insects, and evidently, larger pests as well.
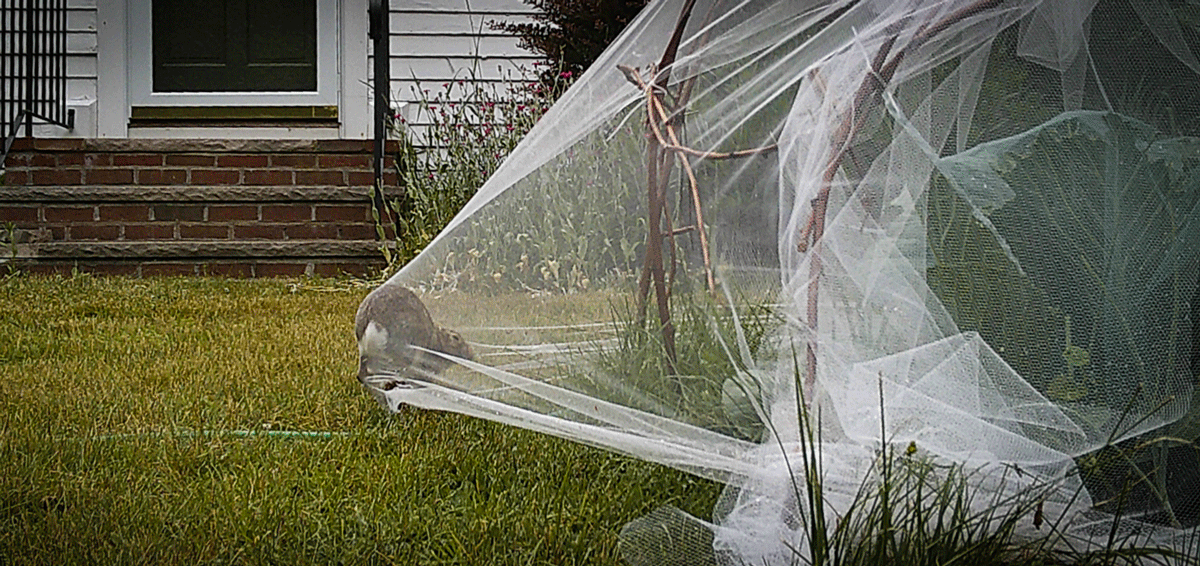
On to better things
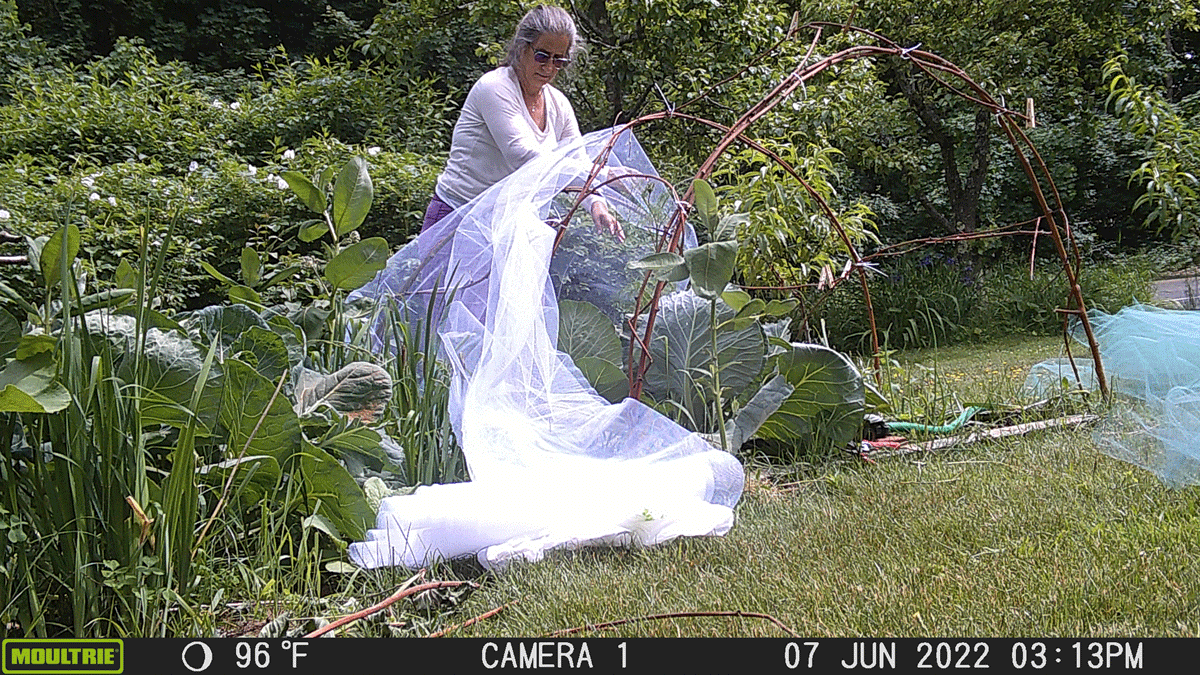
The next materials I used were bent birch branches covered in tulle from the local fabric store. The hoops lasted a couple of seasons. I kept the insect guards on the row all season. On the hottest days of the summer, I shaded the brassicas with weed guard cloth over the top of the tunnel.
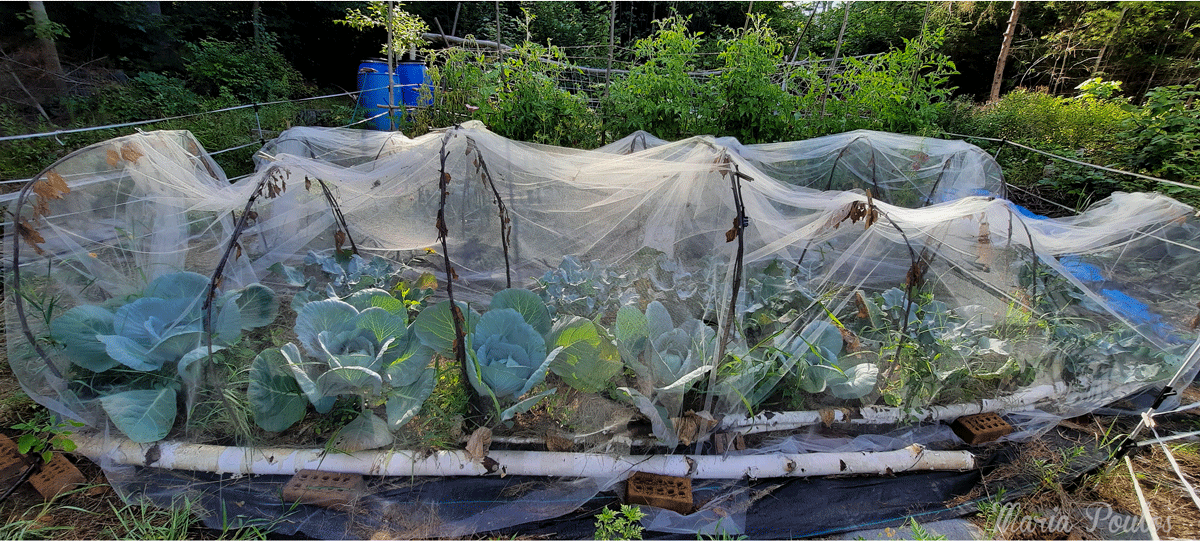
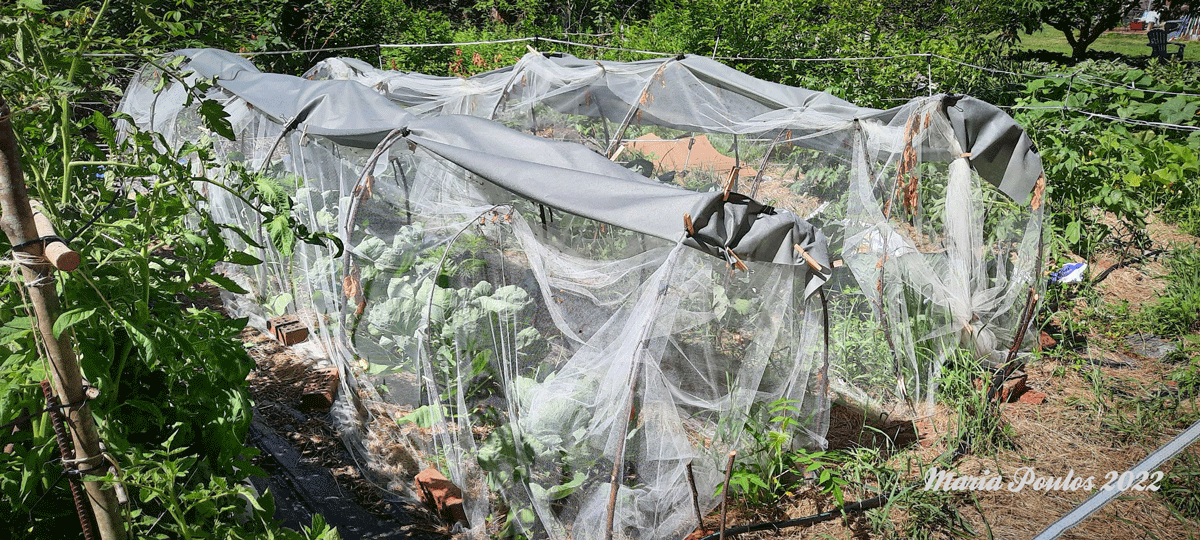
Though the above garden is located in central New Hampshire, the days still get a bit warm for brassicas. The plants shown here are shaded with weed block covering the top of the tunnel with a slightly westerly tilt. This could have been more beautiful using wire hoops or conduit. Commercial insect shield can be used as well. Even at that, the insect guard did not stop the infestation of slugs we had that year.
Make it Nice. Tightening Up Low Tunnel Techniques
I have to admit, I learned this from YouTube and I have to thank all the gardeners out there for offering this up. This is my take.
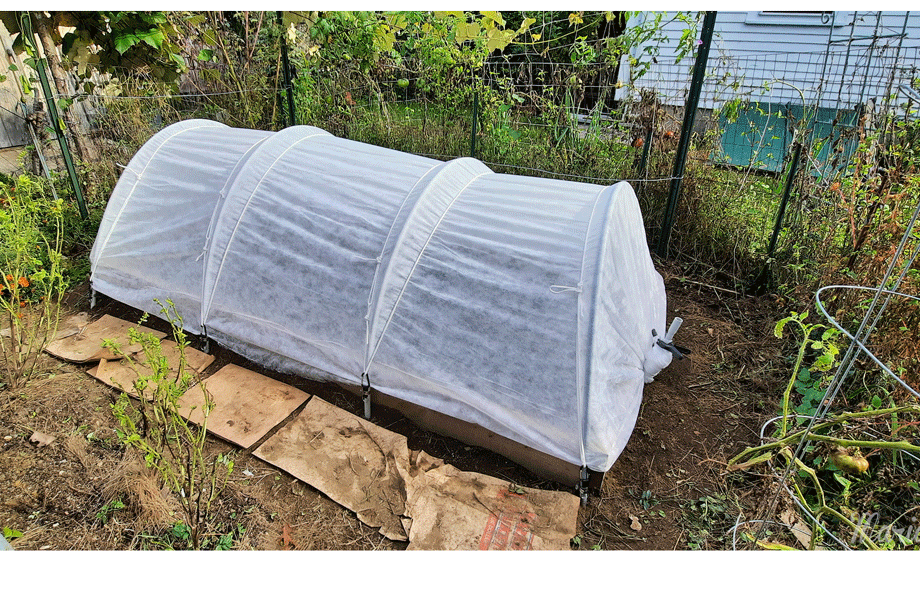
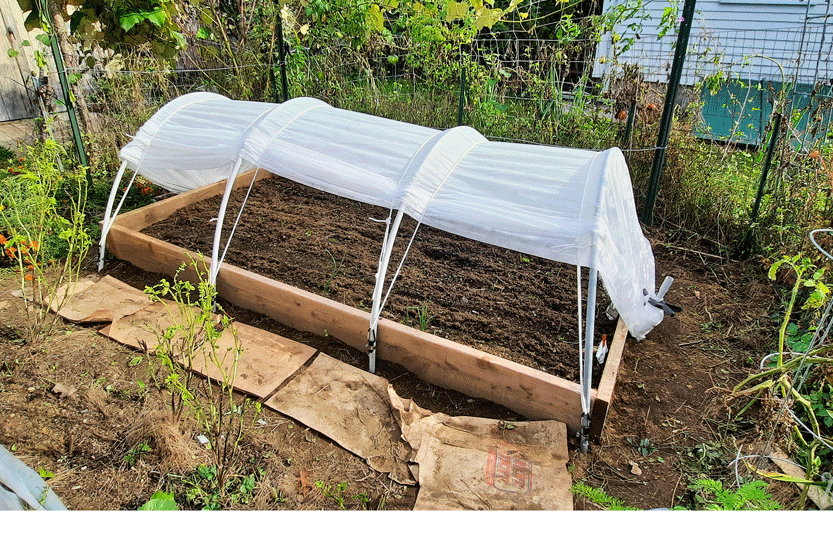
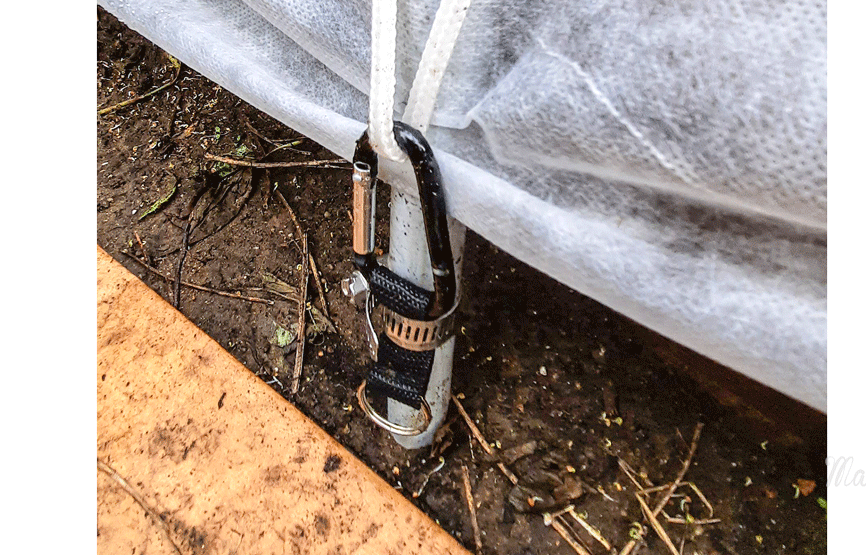
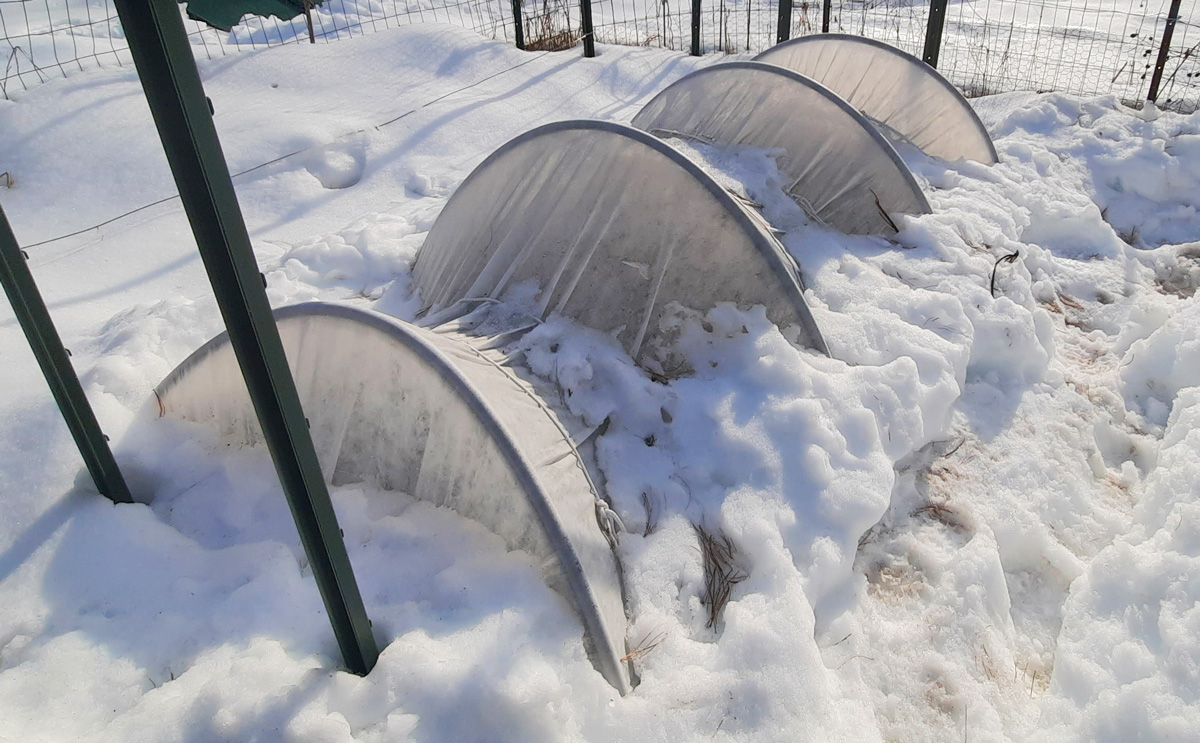
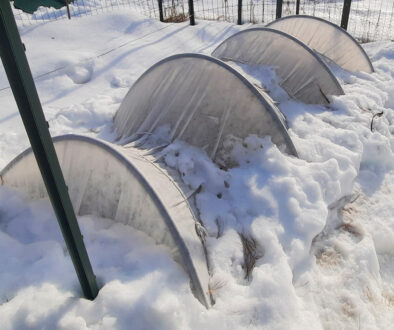
The low tunnel survived a snow. See raised bed gardening year round for the full story.
Go Bigger! Building a high tunnel out of available materials.
The next cheap idea I had was to bend saplings to form hoops. I got this idea from somewhere along the Kangamangus on a rainy day of a canceled hike. I stopped at all the historic sites that I passed a million times. This was a restored homestead of sorts with a garden displaying how they grew a garden in the old days. Over the entrance of the home, there were what looked like two saplings bent over and tied in the middle to support a flower basket or something of the like over the door. This was the advent of the hoop house greenhouse.
Luckily, I had a free supply of saplings from someone who needed help clearing part of a forest. I used 8-foot sapling lengths, cause that’s the length that would fit in a Mini Cooper, my car at the time. Over the years I learned to prune the saplings into long straight trunks, then let them grow another year or two. What works best for sapling hoops is beech and maple. Birch worked great but has a short shelf life and is prone to growing mushrooms. Oak, because of its strength, is best left to cross beams and supports.
(If you don’t have saplings you can use 1/2 conduit, explained later)
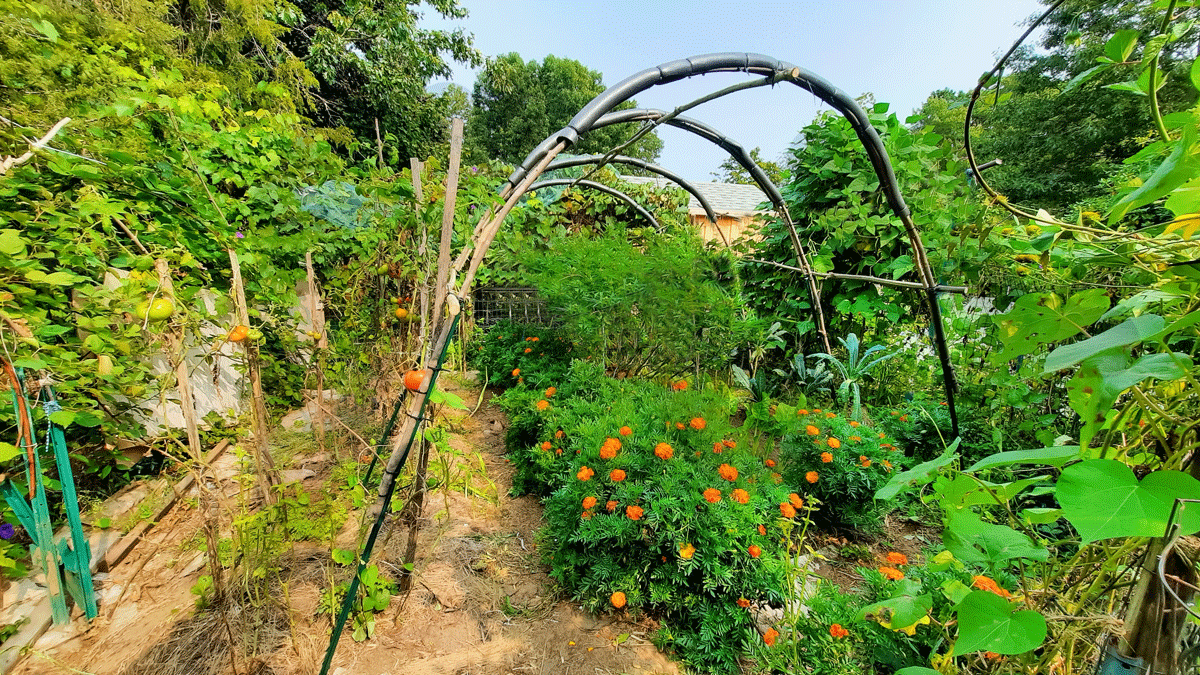
The sapling frame
Placement of the high tunnel, or hoop house
Select a sunny spot with the length of the tunnel facing south, and the entrances facing east to west. Consider placing the hoop house next to a windbreak. For instance, I placed the hoop house adjacent to a row of giant emerald arborvitaes to the north of the hoop house. This created a nice windbreak and also some privacy. On the south side of the structure is more vegetable garden space.
Frame Materials
To create a basic four-hoop house frame you will need:
8 four-foot T-bars, 8 flexible saplings (or 3/4 ” conduit), 4 lengths of pipe inuslation, and a bag or two of outdoor zip-ties.
To add minimum strength to a 10-foot-long house: 6, 10-foot cross pieces, more zip ties
To add maximum strength for snow and wind: Add 4 upright supports and cross beams, more zip-ties, and some galvanized sheeting.

Basic construction
For best results use fresh cut saplings when they are still green and flexible. The saplings are attached to T-Bars which are hammered in at an angle (approx 30 degrees). Once you determine the width you want for the hoop house hammer in two opposing T-bars. Using zip ties, attach a single sapling to each T-bar, then bring the two ends of the saplings to meet at the top and in the middle at the desired height. Using 8-foot saplings, extended with a 4-foot T-bar, the height should be about 7 feet.
The measurements do not need to be exact. The size of the hoop house should be large enough to stand in. Also, the size of your garden space will also determine the best size of the structure. Aesthetically it should be in proportion to the surroundings. This is a matter of personal preference.
At this point, you may want to double the saplings for extra strength. Once the first hoop is constructed, place the next set of T-bars touching the first set and hammer in at the same angle and height. Attach the next set of saplings to the T-Bars attaching them in the middle at the same height as the first set. Then attach the second hoop temporarily to the first hoop. This will help get the hoops to the same size and bend. When working with saplings there is much finessing needed as they are not all completely uniform. Working with conduit should make it easier to get each bend of the hoop more exact. Repeat this method for the next two hoops.
Then leave the hoops in place for a few days to dry in place. After a few days, separate the hoops about 3 feet apart. Mark the ground with guide string to be sure the hoops are placed evenly and square. The house I built was approximately 8×10 feet. I wish I was more careful in aligning the T-bars, cause once they are planted they should remain in place. Though they can be moved and re-planted the form of the hoop will become misaligned and misshapen.
Once the four hoops are in place the supports should be attached. Basically, you will want to box in the top of the T-bars (leaving space for a door, and the entire top of the hoops about 3/4 from the T-bar to the top of the hoop.
Of course, conduit can replace the bent saplings. I’m sure using conduit will create a more uniformed tunnel, but will not have the same ambience.
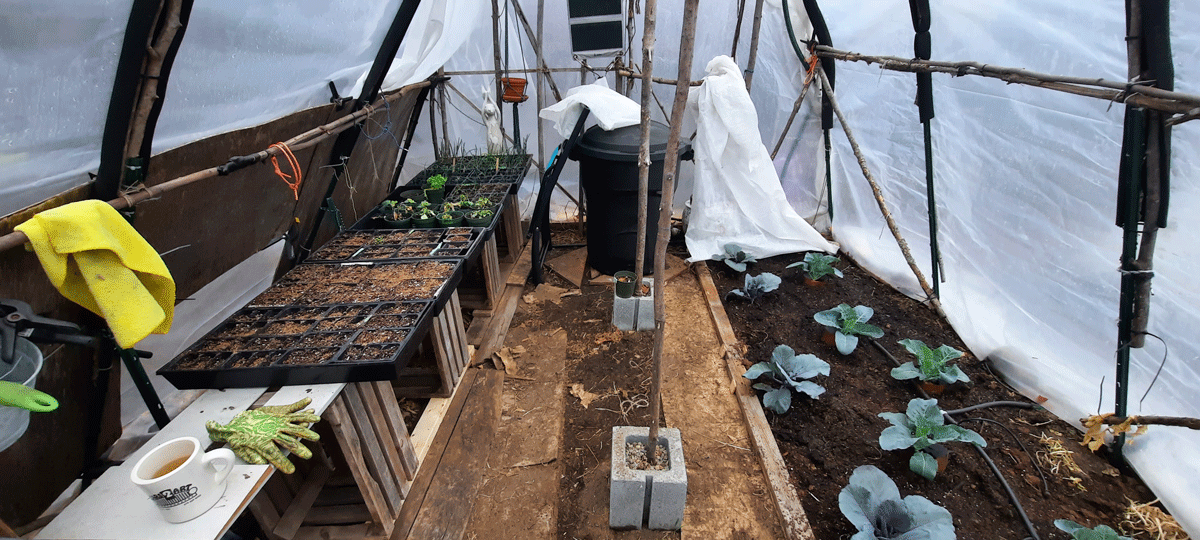
Create thermal mass for passive solar heat
The purpose of the tunnel is to extend the growing season. Creating thermal mass, which will absorb heat from the sun during the day and release the heat during the night will help warm the tunnel a few degrees. Often this is enough to prevent a hard frost early in the season (march) and late in the season (november).
Thermal mass can be achieved by filling dark water barrels with water. These can be placed on the north side of the tunnel. An AI engine such as Grok, can calculate the volume os water needed in ratio to the size of the tunnel.
Another way to create thermal mass is to use stone. A stone pathway, with dark stepping stones will absorb heat from the sun.

Ventilation
I have a small solar fan almost always on to prevent stagnate air and mold. During the warm days I open the top of the ends to create cross ventilation. The amount to open the ends depends on how hot it gets, eventually removing the ends completely during the summer months, and also rolling up the south side.
Without proper ventilation, mold or mildew can destroy young plants.
