Seedlings from Seed
maria All Articles, Growing from Seed, Growing in a Box cabbage, cucumber, eggplant, growing tips, seeds, starting plants, starting seeds
No matter starting seeds to keep in the box or plant outdoor the start part is the same, with the difference being planning ahead for the outdoor space. Starting a vegetable or flower garden from seed is cost-effective, allows for variety, and many of the heirloom varieties can be easily saved for next year’s crop.
I hope you can learn from my mistakes. Starting seeds then transferring outdoors can be challenging. Optimal environmental conditions for starting seeds will produce the healthiest plants, and this is why the grow box is the best option.
All the discount stores sell seed starter kits at the start of the season. Plastic trays with peat pots and a dome cover. These hardly worked out for me. I would not even use them with kids because it may be setting them up for a bad experience. Too much water will rot the seeds, too little water will dry them up, not enough light will produce long leggy, stretchy, weak plants, and cold (from a drafty window sill) will outright kill the poor things. Ideally, you want compact healthy seedlings that will withstand a move into the garden and give your vegetables a head start. A grow box will produce a compact healthy plant. A grow box, even a small one, will produce commercial quality plants if you wish to sell them or gift them.
It’s worth planning a head of time before the seeds even get to the box. Two main considerations: seed selection and outdoor space. Any seeds from your local gardening center should work. If you’re planning to set seedlings outdoors, it’s best to pick seeds that do well in your micro climate or your zone. However, any seeds you plant outdoors are no longer in the controlled environment of a grow box. Outdoors plants are susceptible to weather, insects and a variety of aliments such as mold and nutrient deficiencies.
The garden space needs light, air flow, rich composted soil with a good water source. The things we mimic in a grow box. Experience with growing outdoors will help with indoor grows as the requirements are pretty much the same.
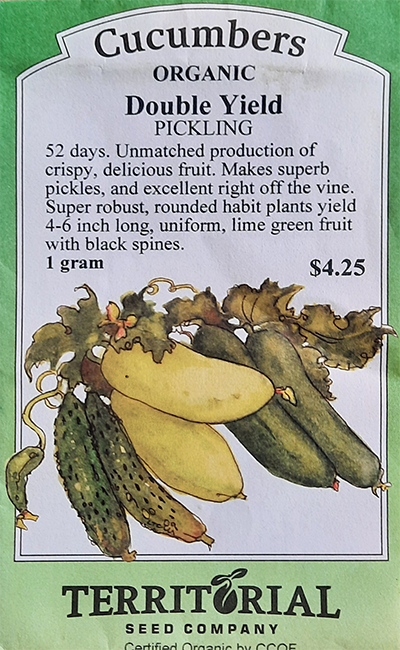
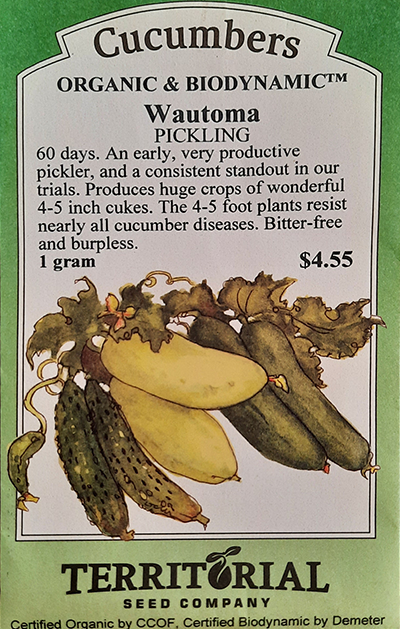
For years I wanted to have enough cukes to make pickles. Dill, sweet, bread and butter (everyone’s favorite) and relishes. I barely had much luck, producing a few jars with slim pickings. Territorial seeds sent a catalog out one year. I think they’re out in Oregon. I look for different things when selecting seeds. Since my yields were low I looked for a high yielding variety. Once I paid for a slicer that was almost a dollar a seed, they produced well, really well, but not good for preserving. The pickler I selected was the Wautoma Pickling Organic & Biodynamic from territorial seed. The first year they came in sparse. My back yard is very sandy and cukes are heavy feeders and are thirsty.
I laid out the garden with an irrigation system, salt marsh hay mulch and a trellis. The slicers did better than the picklers. This year I tried a different space with richer and heavily organically amended soil. I got over ambitious and set up a garden in NH, where is is cooler, but had more space. The garden has been amended for several years with sheep dropping from a neighbor and moo poo commercially imported from Vermont. Story is, a dairy farmer found out that selling poop was more profitable than milk.
Seeds, dirt, water, and also warmth, light, and nutrients. The advantage to a grow box is the control of the variables. Many seeds can be directly sown into the garden, but cucumbers are best started indoors and transferred to a cold frame, a hoop house, or directly into the garden after dampening off.
If a cold frame is not available, move your seedling outside on a nice day for a few hours then move back indoors. Do this for a couple of days. This prevents the seedlings from being shocked but the sudden change in temperature. Plants which have been set in the garden can be protected by a light layer of leaves or hay on cold days or nights.
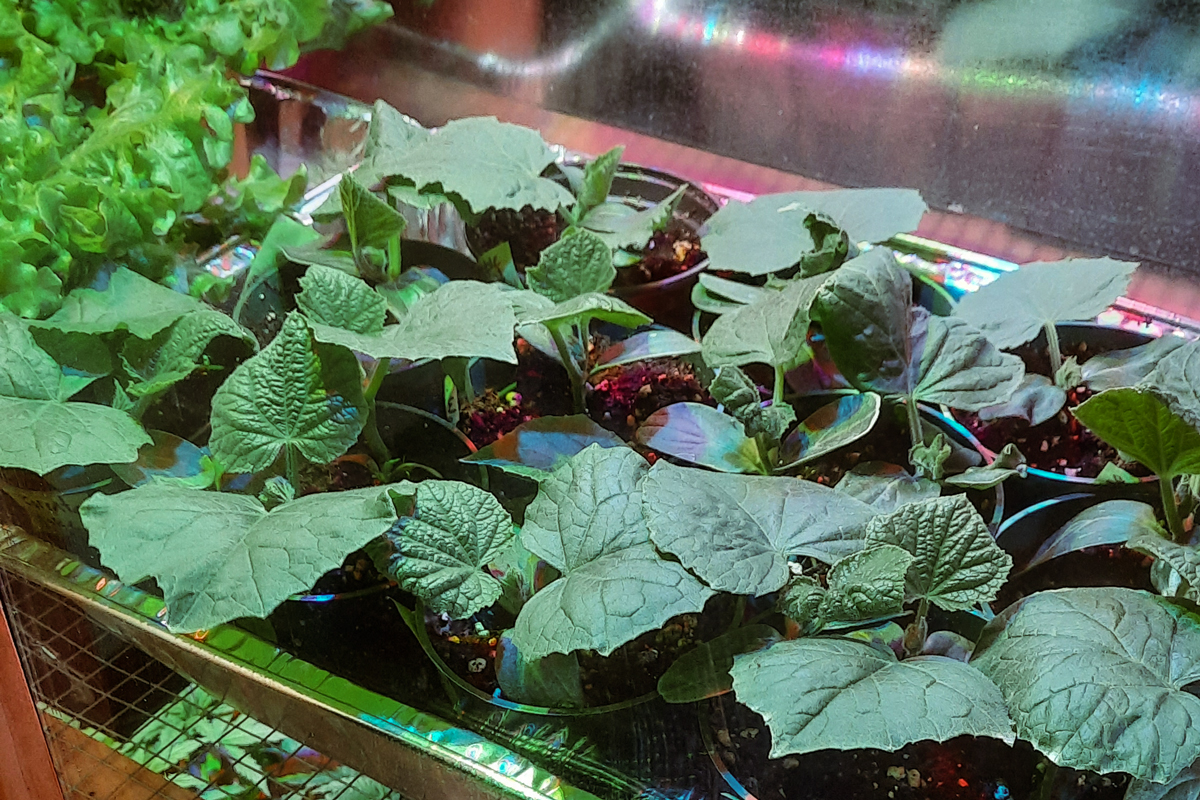
And I say seedlings because seeds can be started in the dark with a little dirt, some water, and some warmth. Eventually, the young plants will need light, air, humidity, and nutrients. A grow box can control most, if not all of the needs of a young plant. Generally, any type of plant can be started this way as described below.
Plant what you want to eat. I started growing tomatoes from seed when I no longer could find Beef Master at the local greenhouse. This eventually became an obsession, so I would start Beef Master from seed every year. Eventually, I moved on. Now I try different varieties and look for heirlooms, or open-pollinated seeds hoping to eventually keep saving the best seeds from the best fruit year after year to get some form of naturalized seeds that grow best in my unique micro-climate. More on this some other time, for now, buy whatever seeds you want to grow for the food you like to consume. Note plants that grow better in warm or cold climates, otherwise you will be challenged. This year I’m growing 2 types of artichokes (here in New England). My brother had an abundance of artichokes in his backyard garden in California. I’m also trying a cold climate adapted melon called Minnesota Midget from Baker Creek Heirloom Seeds.
We tried a Cranshaw melon in a grow box knowing it was a challenge, it grew but there was a problem with mold. Be that the box was in the basement and irrigated with water from a dehumidifier. I think we could have done better.
Any soil can be used, however, it should be sterilized. Basically, you can dig some soil out of the yard, lay it out on a tray, and put it in the oven at about 400 degrees for about 10 minutes and you will have sterilized soil. Using commercial potting soil or seed starter substrate is a lot easier and recommended. Note that most potting soil will contain nutrients, as seed starter substrate may not. I find regular potting soil will suffice for most plants. Look for the nutrient content when buying potting soil. Otherwise, you will need to add fertilizer after the seeds sprout. Adding proper nutrients at various stages of growth will become desirable to stimulate leaf or flower growth for instance.
See Hydroponics as an option.
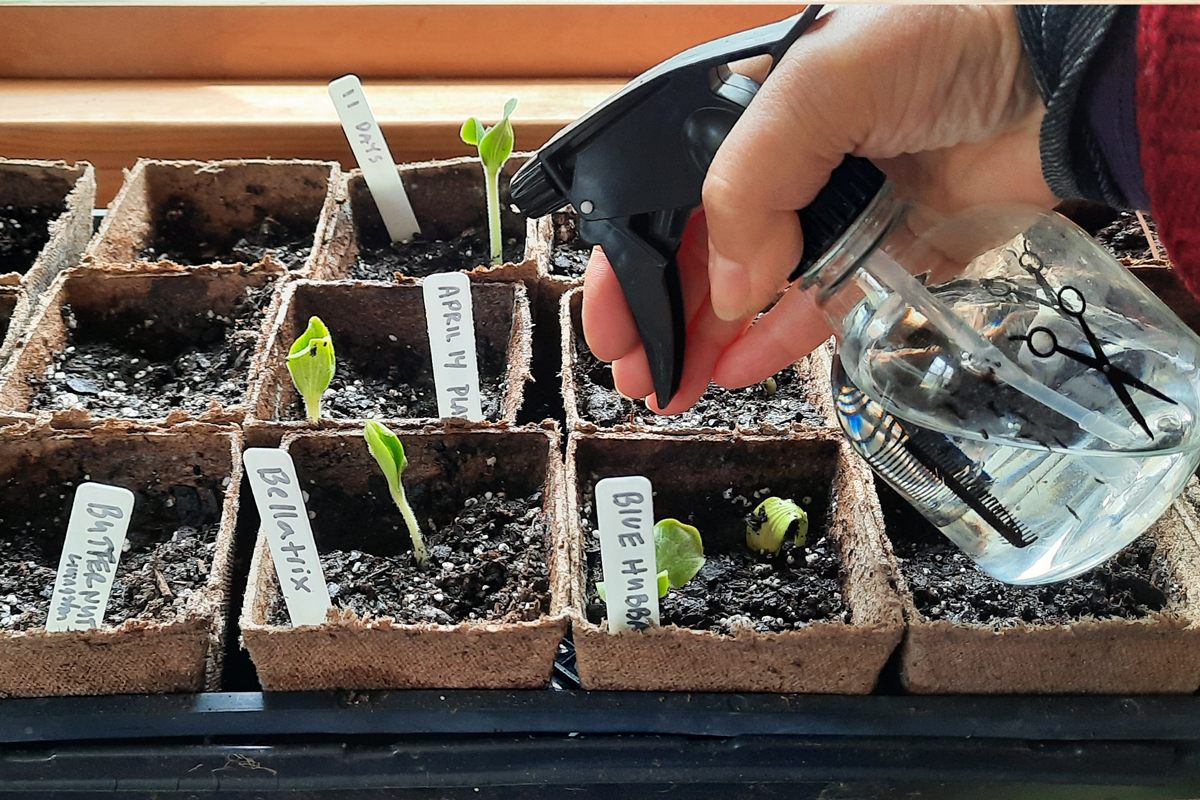
The dreaded peat pots. Well, they suck, they mold and wick water away from the roots when planted in the ground. If you have used them you probably found out they are not that great. If you use peat pots of any kind, just don’t let them dry out or overwater them. Keep a close eye on signs of life and use a light consistent spray to keep the seedlings moist but not wet. Actually if done right they are a great convenience.
I mostly use plastic three- or four-inch plastic pots and re-use them every year. The 6 cells are good but they are flimsy and can only be used for a year or so. The six cells are really a “use once and throw away” kind of thing so not high on my want list, however, I end up buying a set or two each year.
You can also recycle yogurt cups or use paper cups for seed starting, but put a hole in the bottom for drainage.
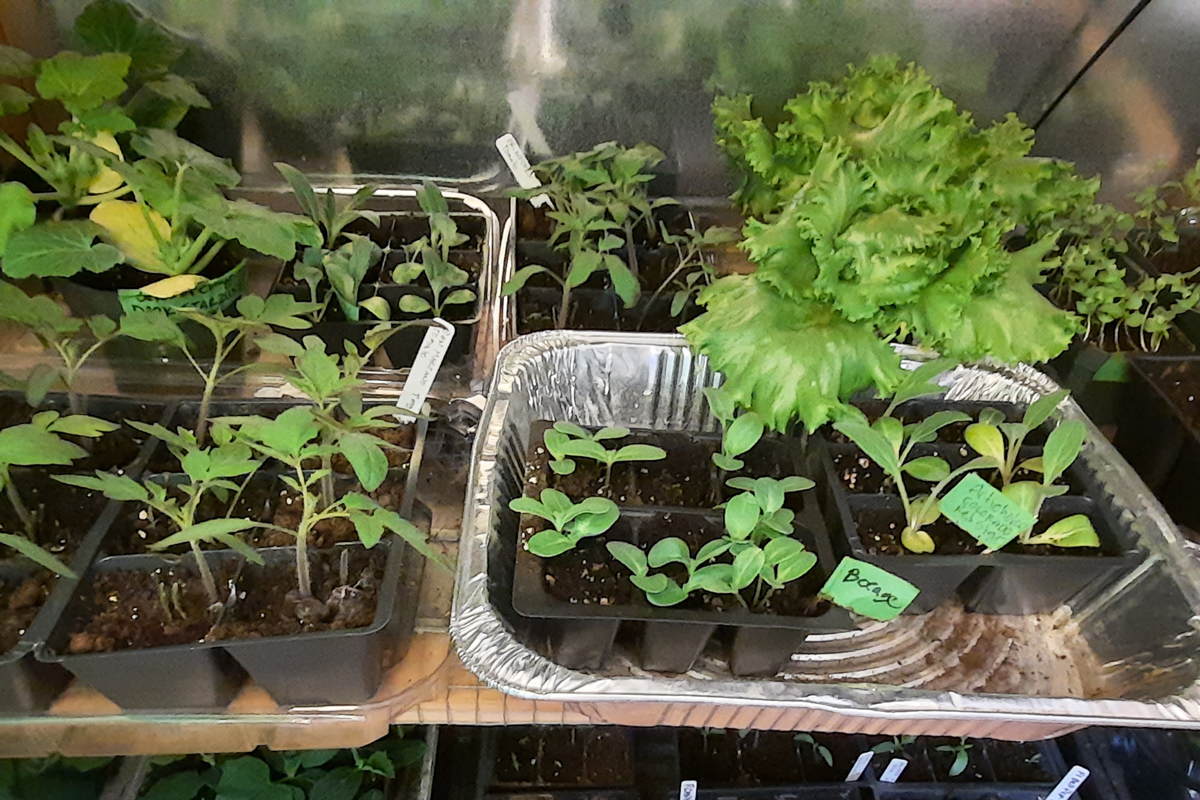
I start seeds in the box and place the newly planted seeds on a warming mat, without a light on the bottom shelf of the two-tiered grow box. Once the plants emerge the light gets turned on. This is the most critical stage of the seedling. Be sure they are kept moist but not wet and there is plenty of airflow. This is a good time to start talking to the plants! I use a CO2 activator to give the plants good air to breathe.
When the plants mature they get moved off the warming mat, onto the top shelf in trays. The trays I use inside the box are either recycled plastic muffin containers from Costco or aluminum baking pans available from the supermarket. The clear muffin containers allow light to flow from the top shelf to the bottom shelf. The aluminum pan reflects a good deal of light. Using a mix of clear and reflective trays has proven successful. The trays are a convenient size and can be easily moved about the box for optimal light/heat control. It’s been kind of a barnyard box dance I play with the trays, moving them around the box as needed. The goal here is to move them out of the box at the optimal size and at the optimal weather.
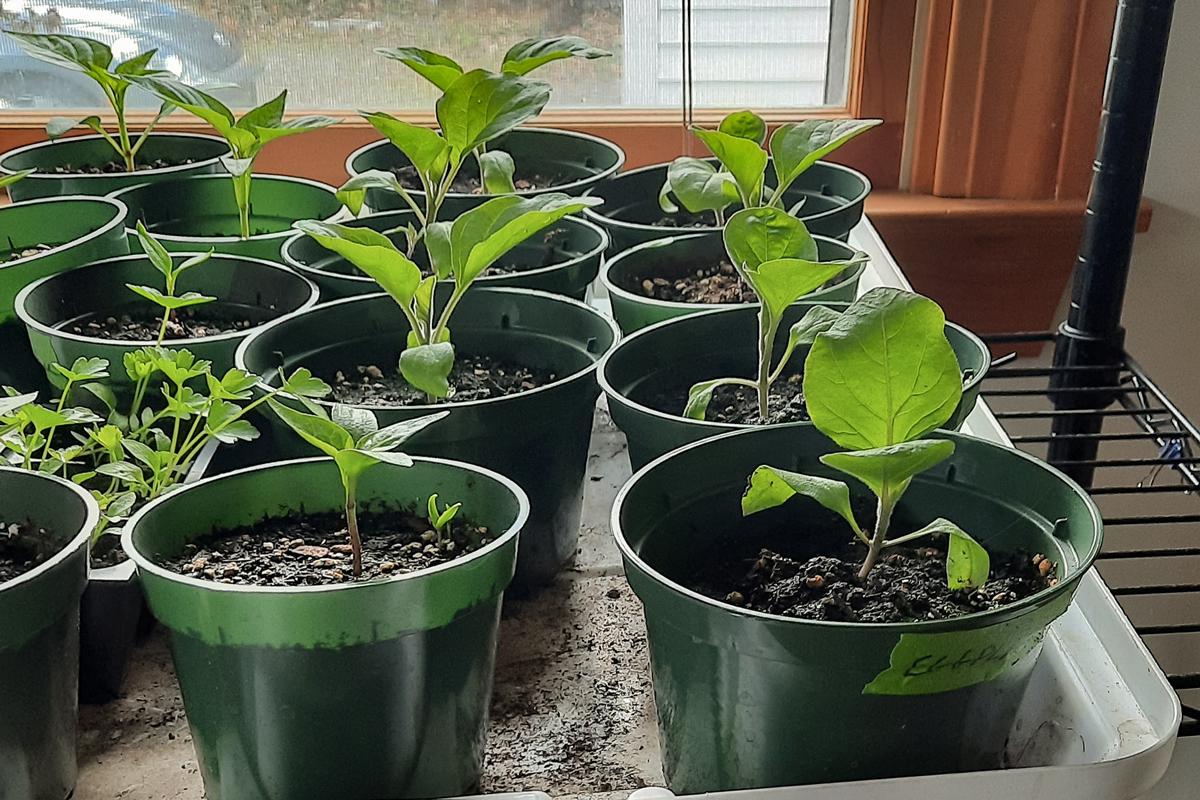
As plants mature I move them to a shelf near a window. This is intended as a short visit. Moving plants in and out of the grow box optimizes the grow space. I can always add an additional grow light to the shelf as the critical stage of seedling growth is past.
After multiple devices and contraptions for extending the growing season I have arrived at the hoop house. A Hoop House, which is just a giant cold frame big enough to stand up in. A greenhouse with no heat, as in not a hot house. This can be made with PVC electrical conduit bent and attached to t-bars. I used maple and oak seedlings since I could acquire them free and I like the naturalness of the wooden frame. I used plastic sheeting from a wrap that came free with a delivery of plywood (used for the grow box). I’m in and out of the hoop house all winter as a retreat and a light therapy mixed meditation room.
I planted a row of garlic in there and thought it may have been a mistake until this summer when I could harvest a bunch of garlic bulbs for the first time ever. There was a lovely row of marigolds untill the first hard frost mid November. The main use of the hoop house is to transfer seedlings from the grow box to harden them off for setting in the garden. It can also been used to extend the late season plantings – as I plan to start carrot in there mid August. It can also shelter cannabis plants from rain during the late flowering stage when mold can become problematic. Perhaps used hold shade cloth for endless lettuce, or, to darken the plants to stimulate flowering, though I have not tried that, yet.
The trick is all in the timing. Set plants in the garden at optimal size as well as timing. Rule of thumb, after the third set of leaves, emerges the plants are ready to move.
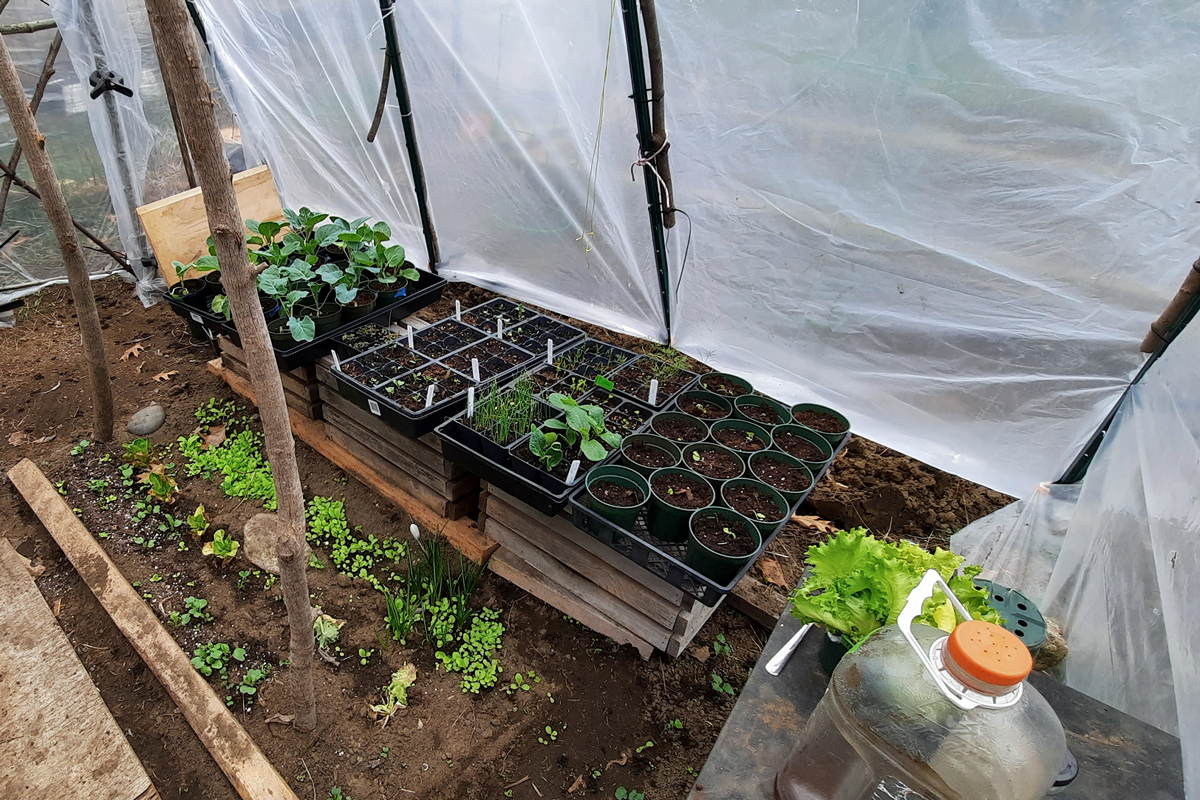
Seedlings that grow too fast can be moved to the hoop house, as long as there is no killing frost. This will slow growth, as well as harden off the plant. Keep an eye on the predicted temperature reports and move plants back indoors if temperatures drop near or below freezing.
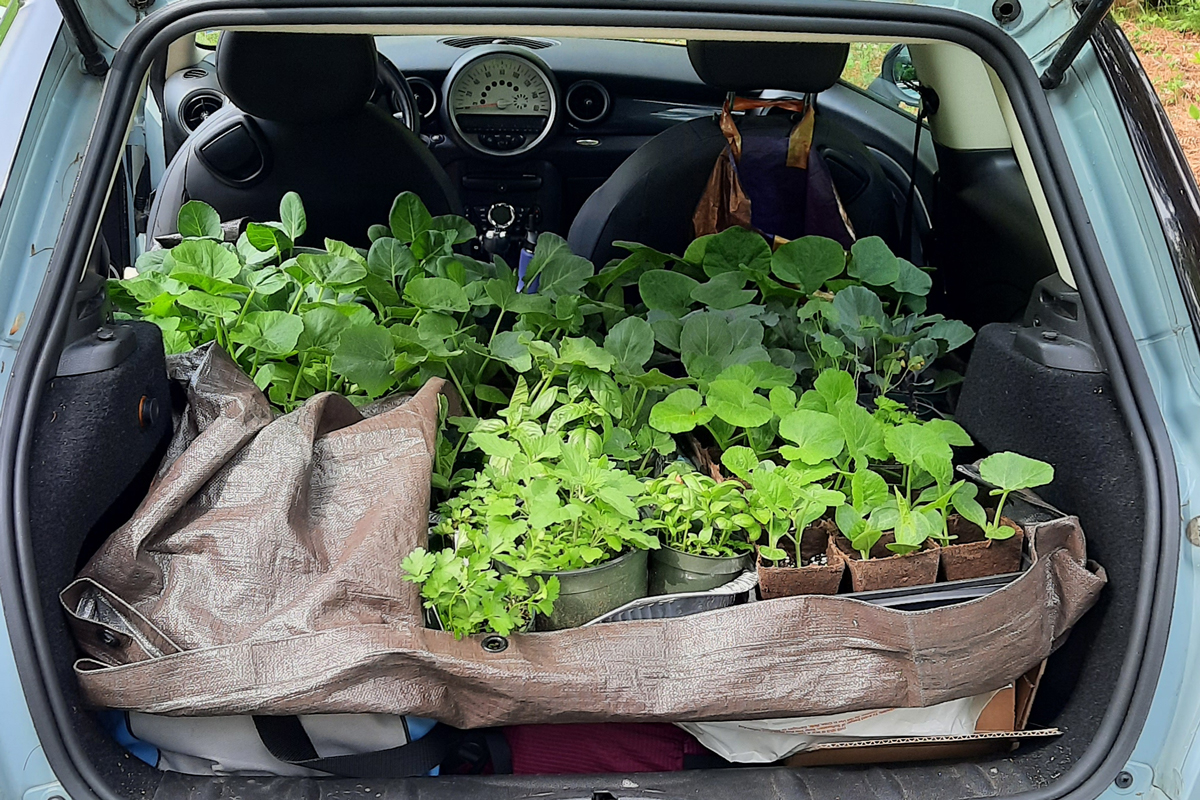
Plants moved from the grow box can be hardened off in the hoop house to be planted, sold, or gifted. I have used a variety of pots, either recycled plastic pots or peat pots.
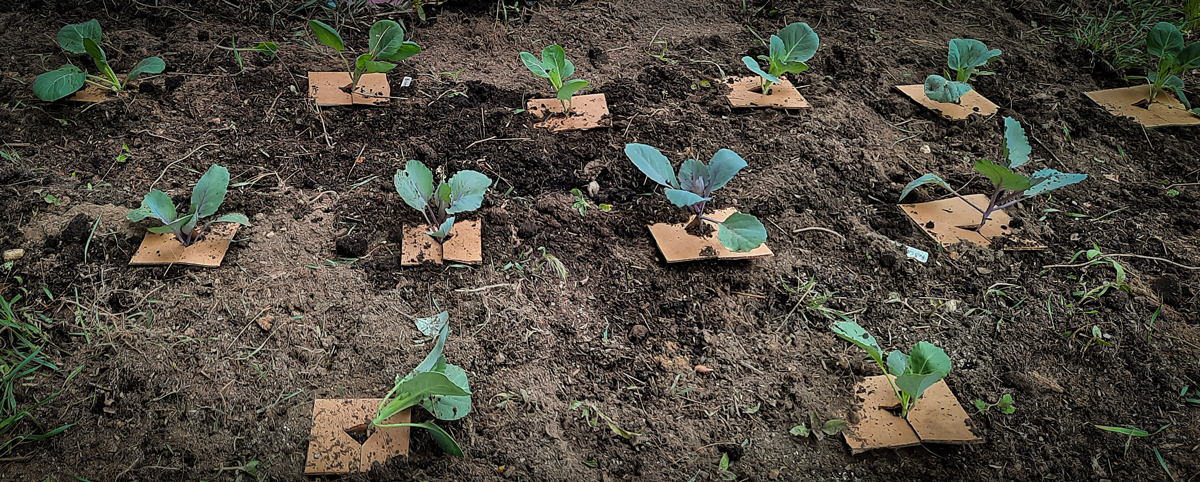
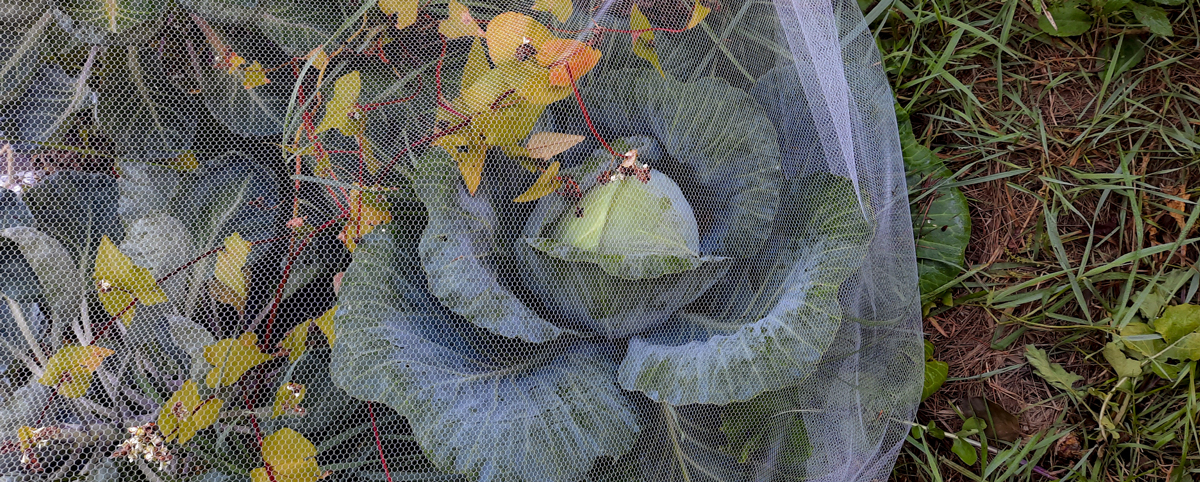
Once plants are moved into the garden place a pad at the base of each brassica-loving cabbage maggot. Pictured above: green cabbage (Kaitlin for storage), red cabbage, and Brussels sprouts.
Rule of thumb: When setting out young plants water them with a dose of nutrients and a light spray of insect repellent or insecticide.
At the time of planting brassicas, I will use a fish emulsion (fertilizer) solution and an overall spray of Bt (Bacillus thuringiensis) to reduce the number of cabbage moths. Bt is a kind of biological warfare for cabbage crawling worms. It works on many kinds of caterpillars including tent caterpillars. Even though not touted as harmful to humans, use it with caution like any pesticide.
Other types of plants, such as cannabis, or squash have similar requirements using different nutrients and insecticides. In cannabis planting, since the leaf and bud are used, the use of insecticides should be minimal and non-toxic. An insecticide is not usually needed at planting time, how ever rodents may nibble the tops off. Neem oil is the go-to insecticide for cannabis and can be used for mold control later in the season.
Squash family can also be given a nitrogen-heavy “starter fluid” and I dust the stems at the base with sevin or commercial garden dust to control stem borers. In the past, I strictly used organics such as pyrethrins but since it’s early in the season the poisons I use are not systematic and will not affect the fruit.
After a personal bout with Lyme Disease, I am not afraid to use a stronger pesticide during tick season.
To reduce the use of pesticides a barries cloth, such as toule (available at any fabric store) can be used. A set-up using chicken wire and toule will help fend off insects and bunnies but allow beneficial insects such as bees and other pollinators to pass through.
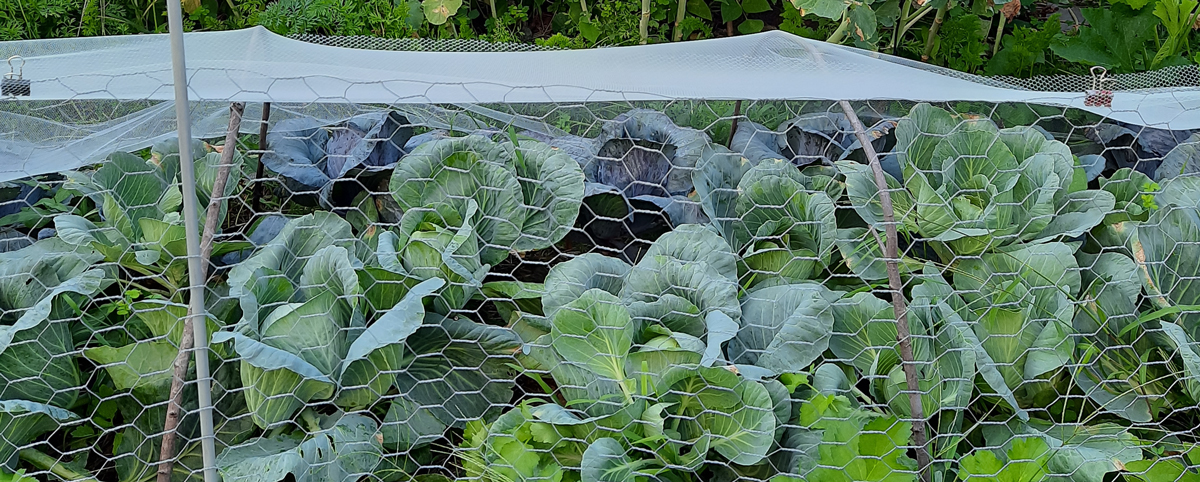
An insect barrier can be used for the life of the plant. Note that the cabbage in these images are surrounded by an electric fence.
At harvest time I will leave the bottom leaves and take down the electric fence for the deer to browser the garden remains. The brassica family, such as Brussel sprouts, broccoli will withstand snow and a light freeze. I have even picked frozen Brussels sprouts for the stove.
